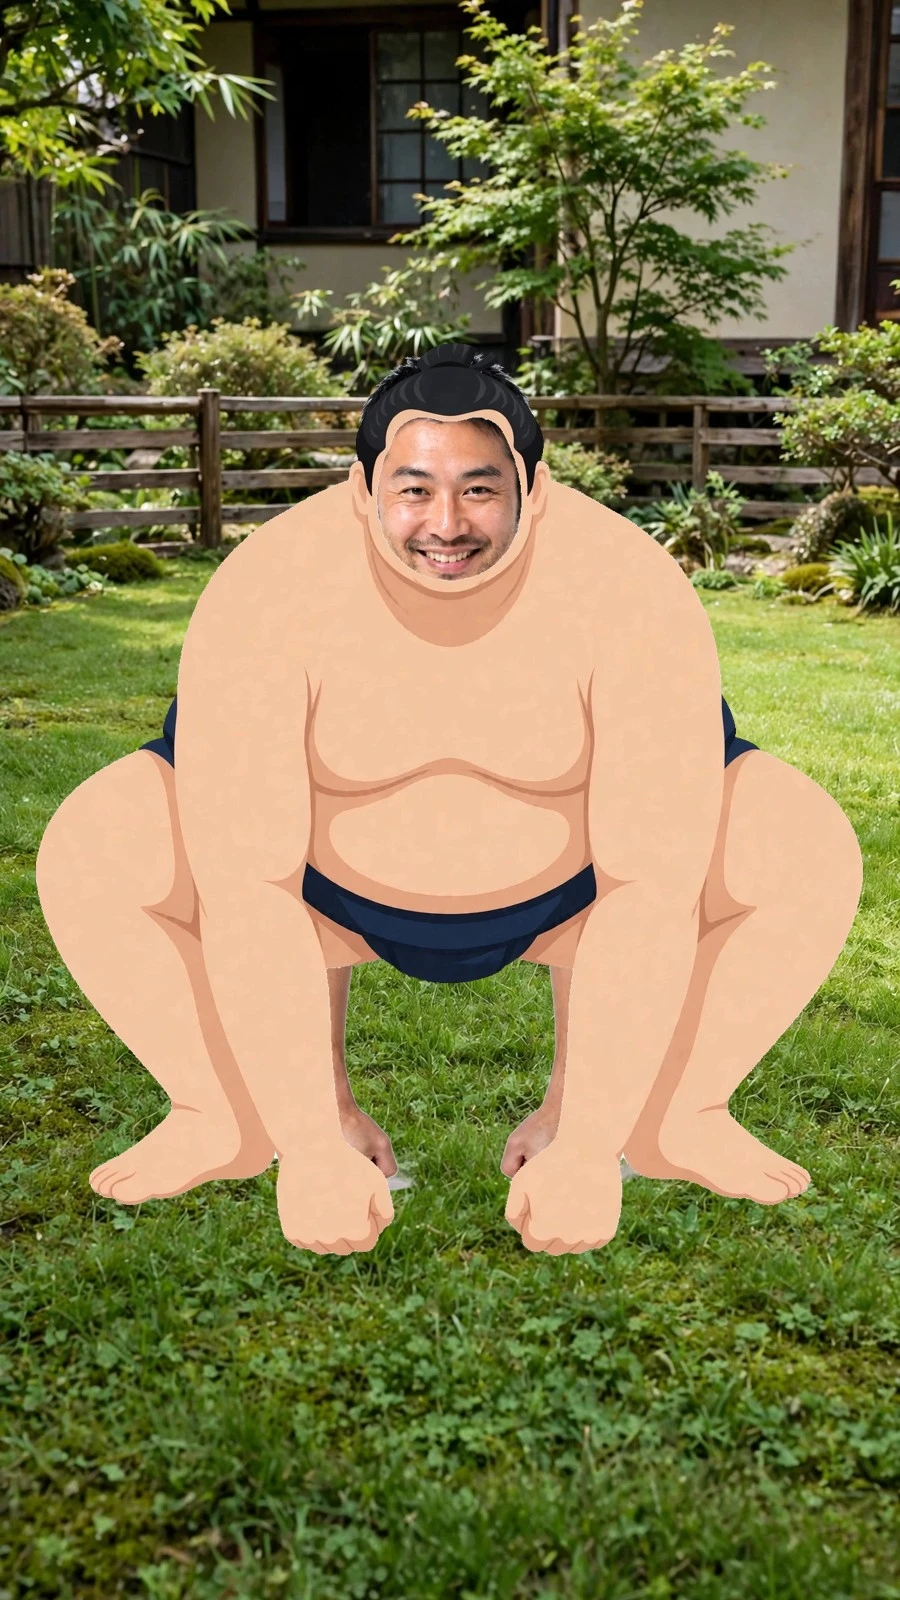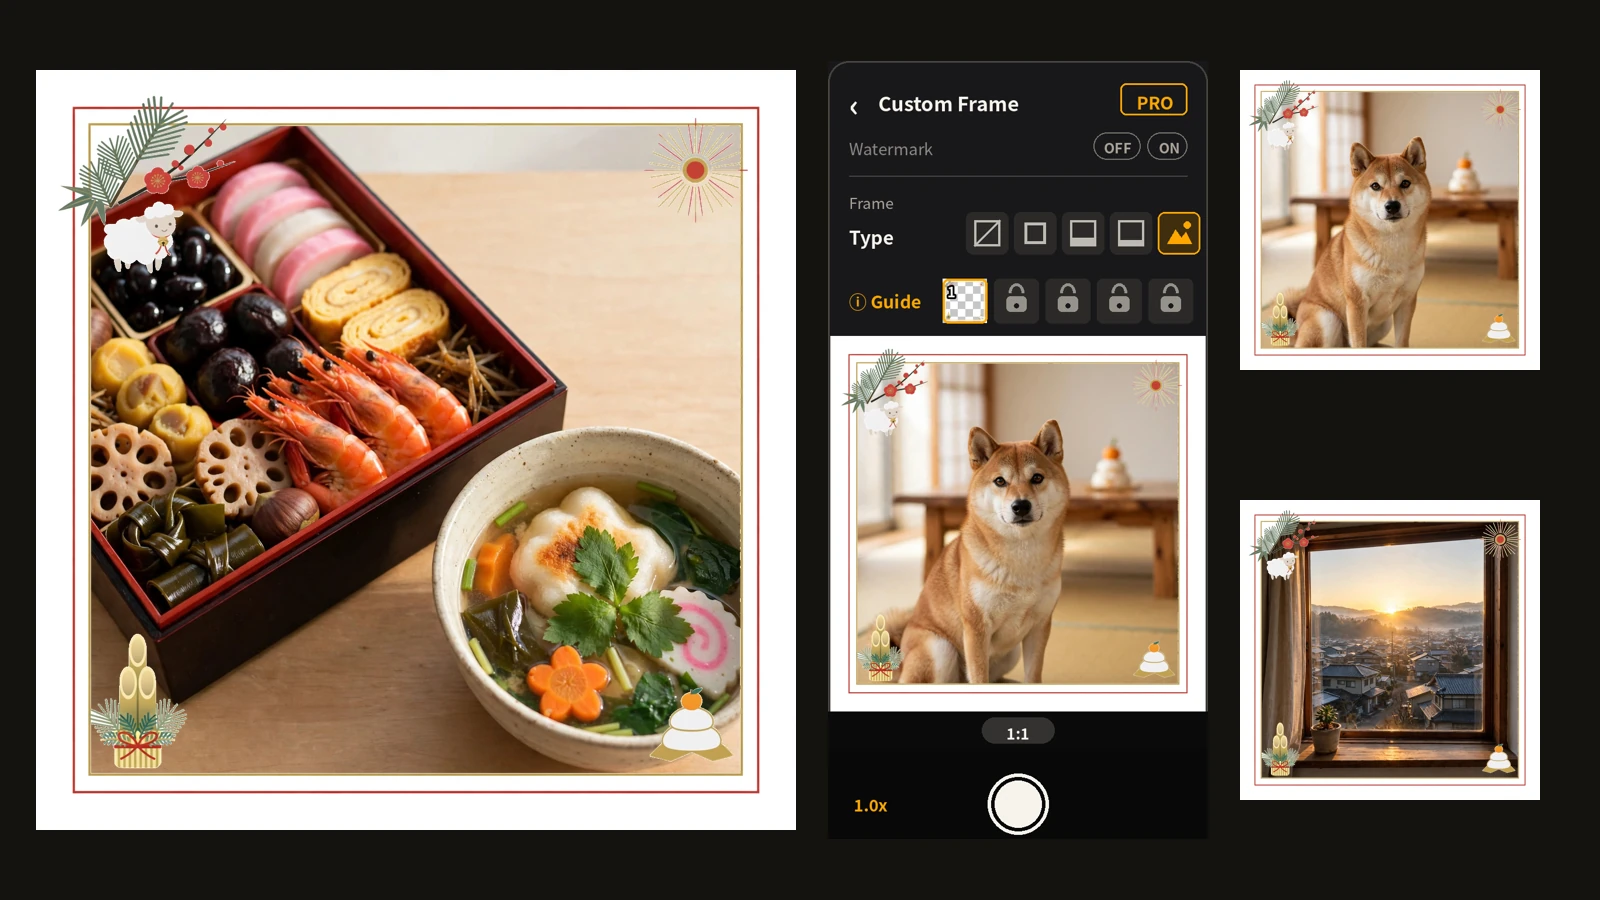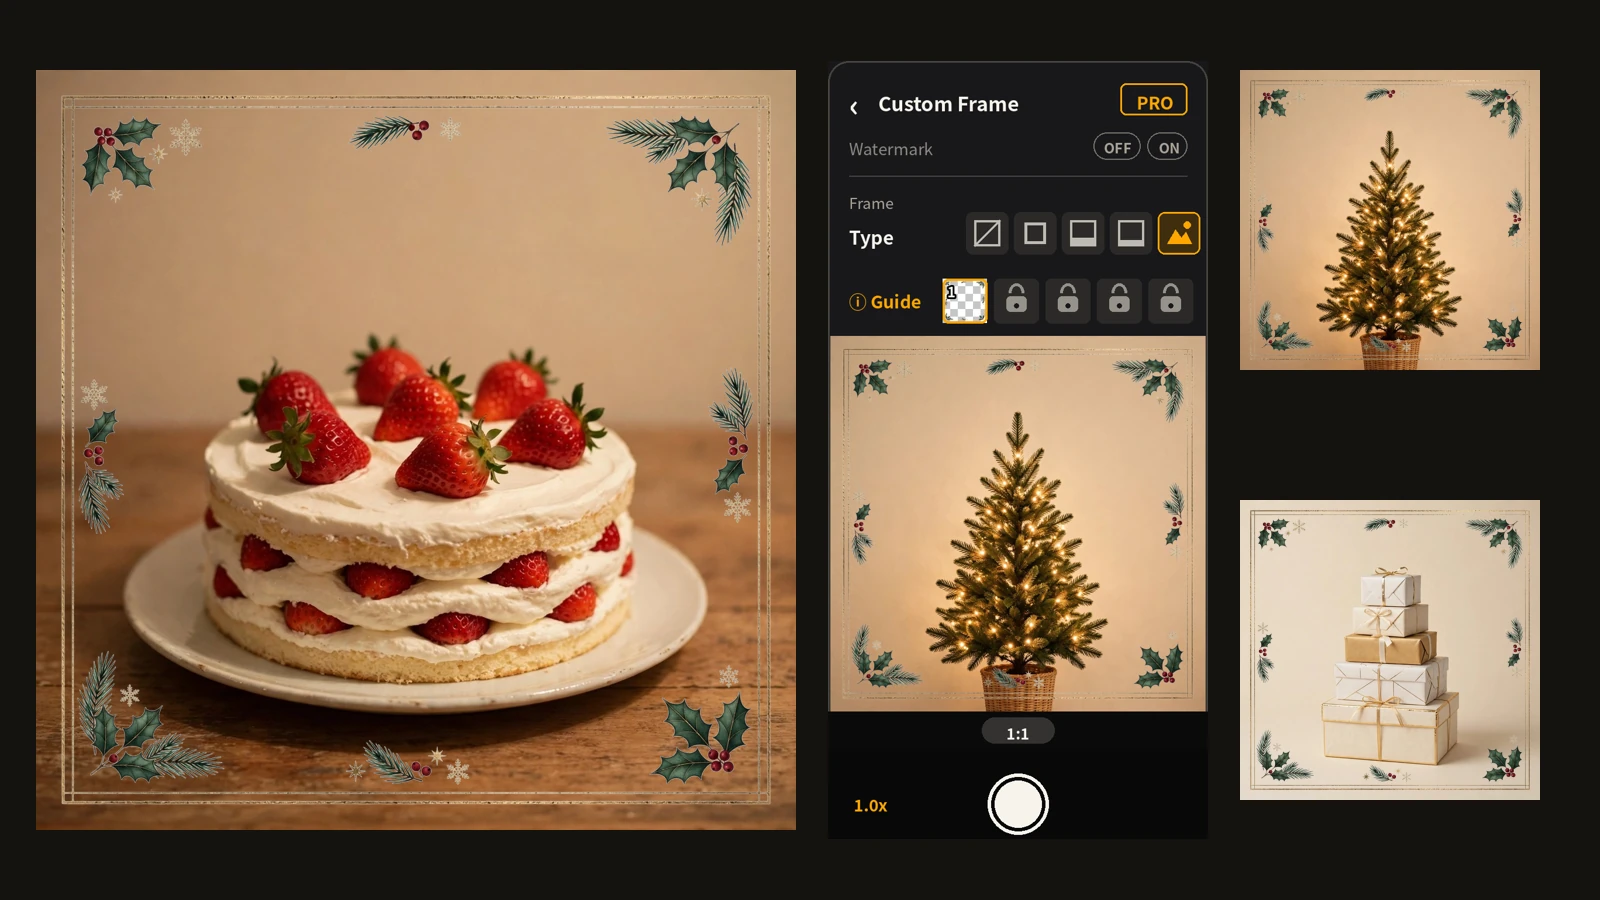
Face-in-hole panels are a staple of sightseeing spots. The catch: you can only take the photo when you are actually there. So I tried making the panel myself, to take a face-panel photo in my own living room.
The trick is to flip the setup. Instead of a physical panel standing at the spot, the panel becomes a transparent PNG set as a custom frame in Encadra, overlaid in the finder before you shoot. This article is the record of making one and shooting with it. For the feature itself, see the custom frame article ; for the detailed steps, see how to make a custom frame . This article sticks to what it was like to actually do it.
First decision: only the two face holes are transparent
I settled three things before making anything. The panel is painted across its whole surface, with transparency only where the faces go. There are two holes, for two people. And the ratio is 3:2, the wide shape of a sightseeing panel.
A normal custom frame is the opposite: transparent in the middle, painted only around the edges. A face panel turns that inside out — paint everywhere, holes only for the faces. Whether this "upside-down frame" would work was the open question of this project.
I asked AI to paint it
The request was a ukiyo-e style scene: a samurai and a town girl standing before Mt. Fuji, a lake, and pines, with only their faces left transparent.
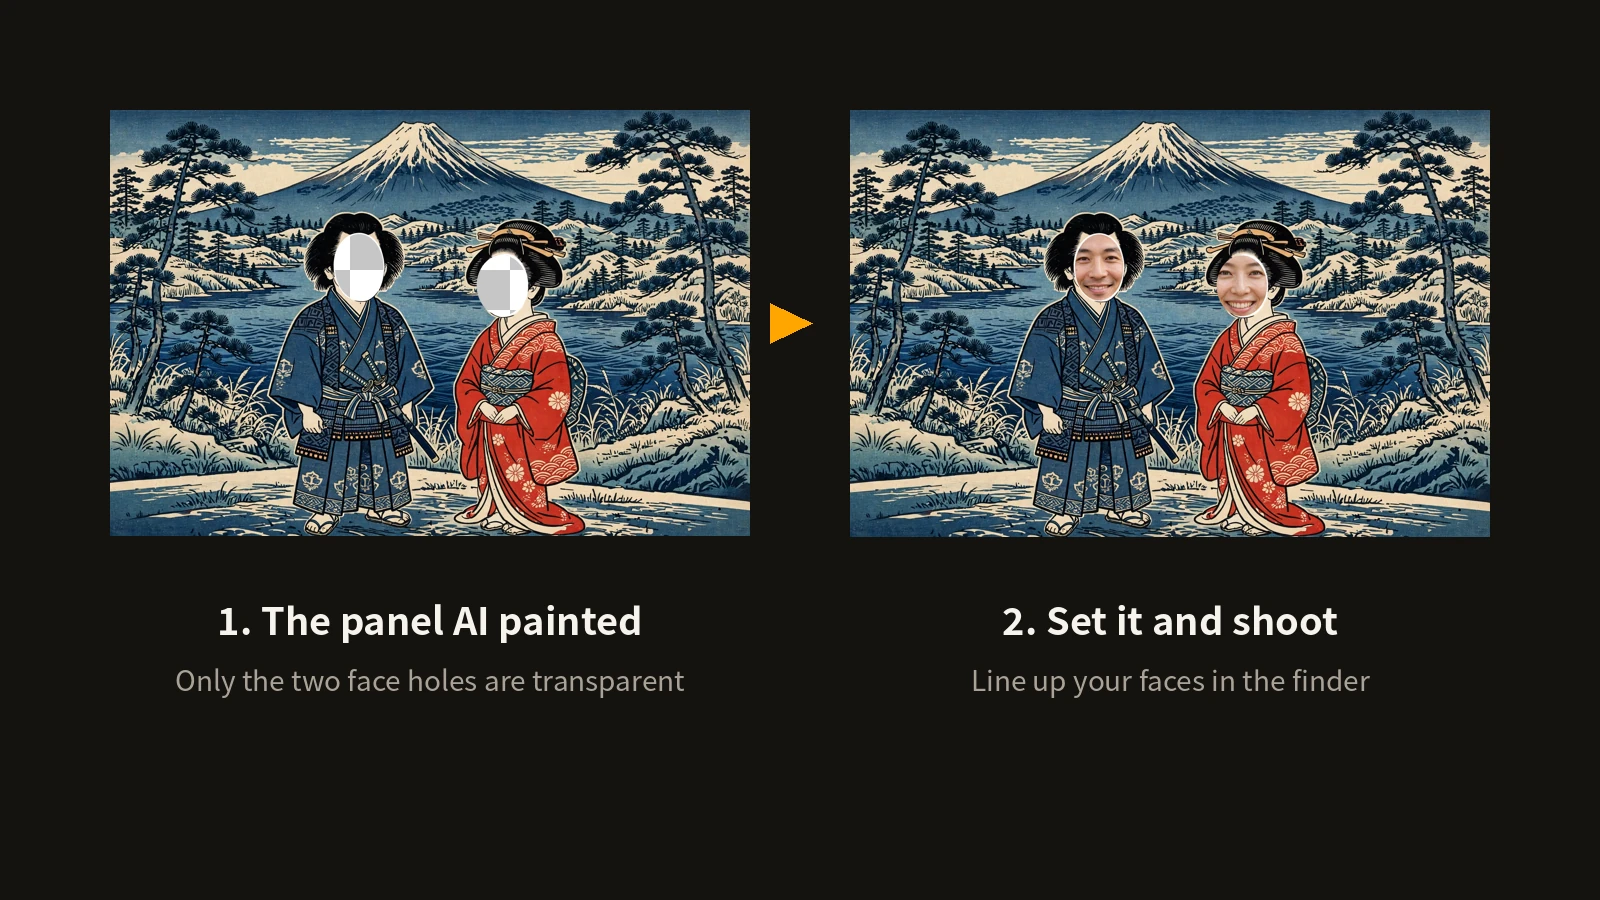
Here is the panel that came back.
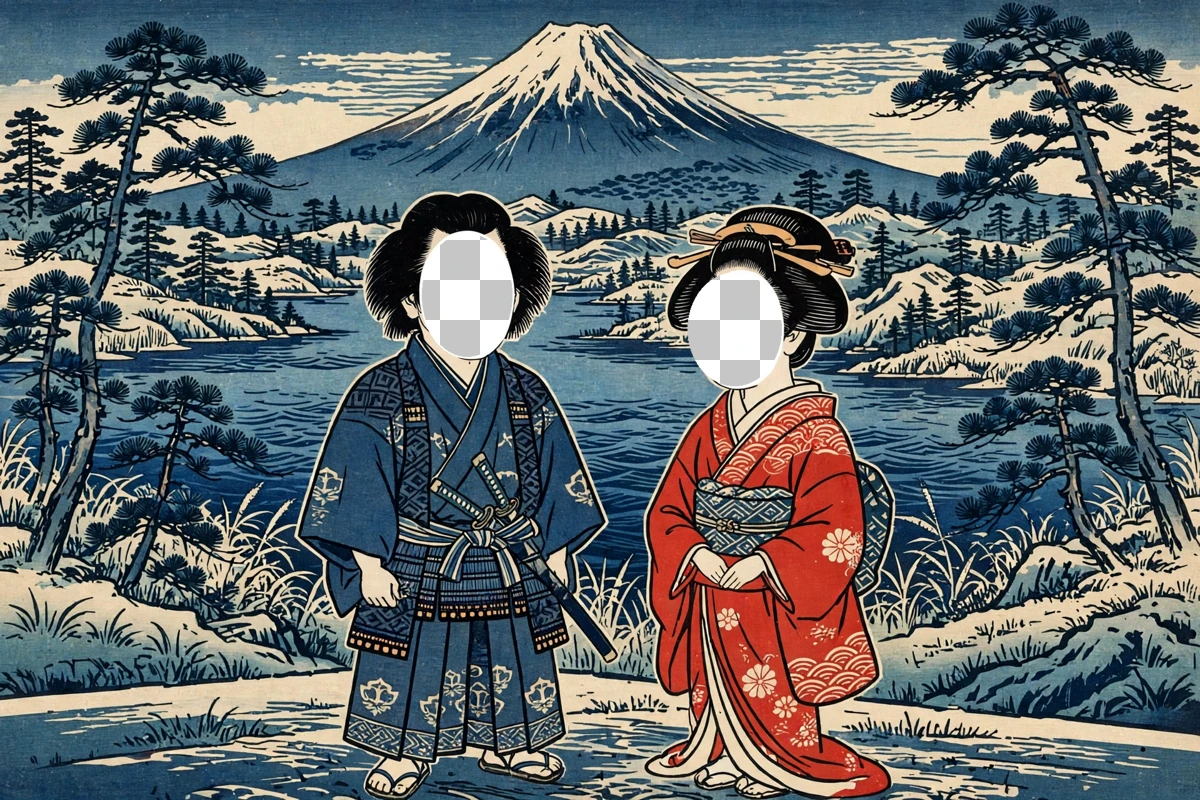
Measured, only 1.79% of the image is transparent — the two face holes and nothing else. There are no semi-transparent pixels either. A few pale areas of the painting look see-through at a glance, but measured, they are simply the paint's own colors.
I set it in Encadra
The exported transparent PNG goes into a frame slot on the shooting screen.
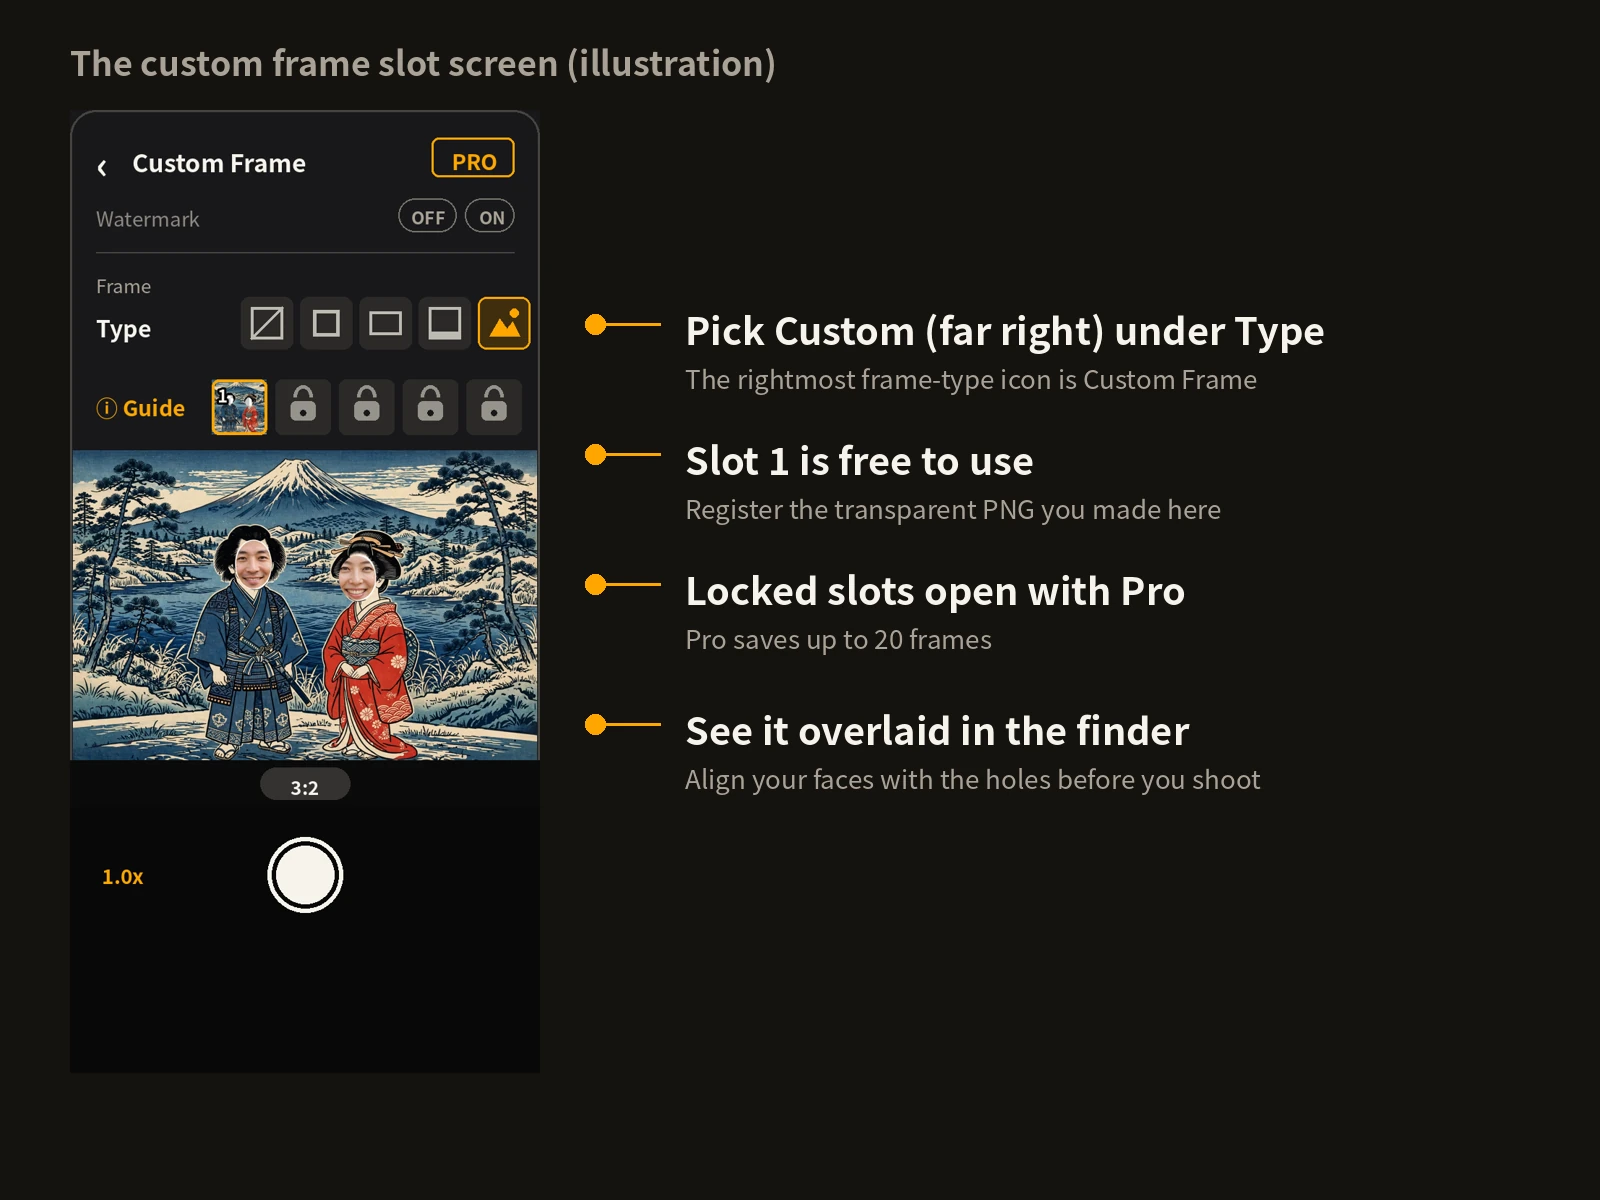
The first slot is free, and that is where this panel went. The registered image is copied into Encadra, so the frame stays even if you delete the original PNG from your device. I set the shooting ratio to 3:2 to match the panel.
Then I shot with it
Once set, you just line up your faces with the holes and shoot. The panel is overlaid in the finder, so you adjust position and size on the spot, stepping closer or farther until the faces fit.
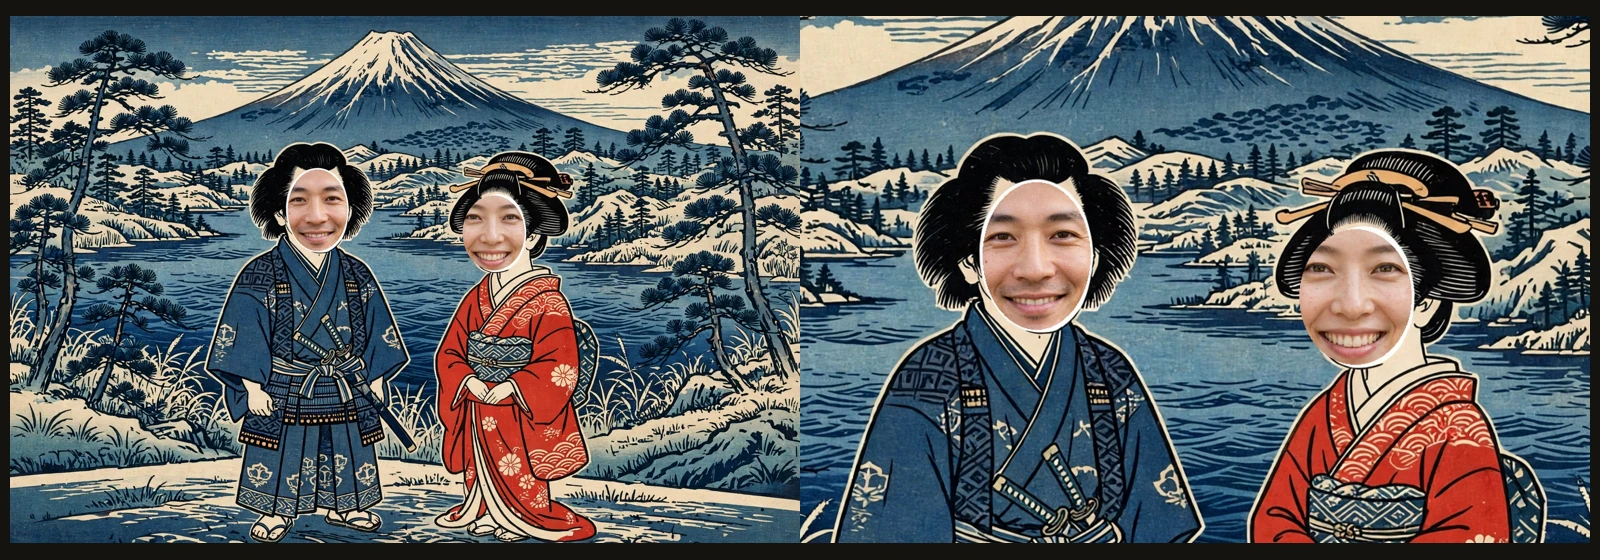
Note: this image places the finished photo next to a zoomed crop of the faces. It is not a Sequence photo, which combines multiple shots into one (custom frames are not available in Sequence).
The result looks exactly like a photo taken at a sightseeing panel. The only difference is that the location was my living room. Because the panel is fully opaque, whatever is behind you does not matter. It trades away choosing a background for not having to choose a place at all.
What tripped me up, and tips
The main adjustment was face size. Too small, and the face floats against the painted hair; too big, and it spills out of the hole. The finder makes this easy to fix by changing your distance, but it helps to pause a moment and check the fit before pressing the shutter.
The other point: shoot alone, and one hole stays empty. You just see the room through it — the same as using a real panel on your own. Either shoot as a pair, or make a panel with a single hole.
The panel is made before you shoot, and set before you shoot. After that, you just line up your faces and shoot. For the full picture of the feature, see the Encadra page .