You build the Frame Maker only once
Just give your Muse the instruction and leave it — when it's done it appears in your Spaces, and from then on it's ready to use right away.
You can set your own transparent image as a frame in Encadra before you shoot, so it is baked into every photo. This guide walks you through making a frame PNG with the Encadra Frame Maker, saving it, and importing it into Encadra.
Just give your Muse the instruction and leave it — when it's done it appears in your Spaces, and from then on it's ready to use right away.
The frame fills the whole screen, so build it in the same ratio you will shoot in (see Step 2).
On a phone, saving takes two stages. The file reaches your device only when you press the final Save (see Step 5).
The Frame Maker runs inside Muse, Meta's personal AI agent. If you do not use Muse yet, join Muse first.
Within 48 hours of joining, enter the code in Muse under [Settings] → [Use invite code] to receive 1 billion Muse tokens (the steps are the same on PC). The entry closes after 48 hours, so enter the code first, before you start.
The Frame Maker is a tool your own Muse builds for you. In a new Muse chat, paste this text exactly as it is and send it:
Please build the Encadra Frame Maker for me. The instruction sheet is here: https://github.com/RazWeb3/encadra-frame-maker
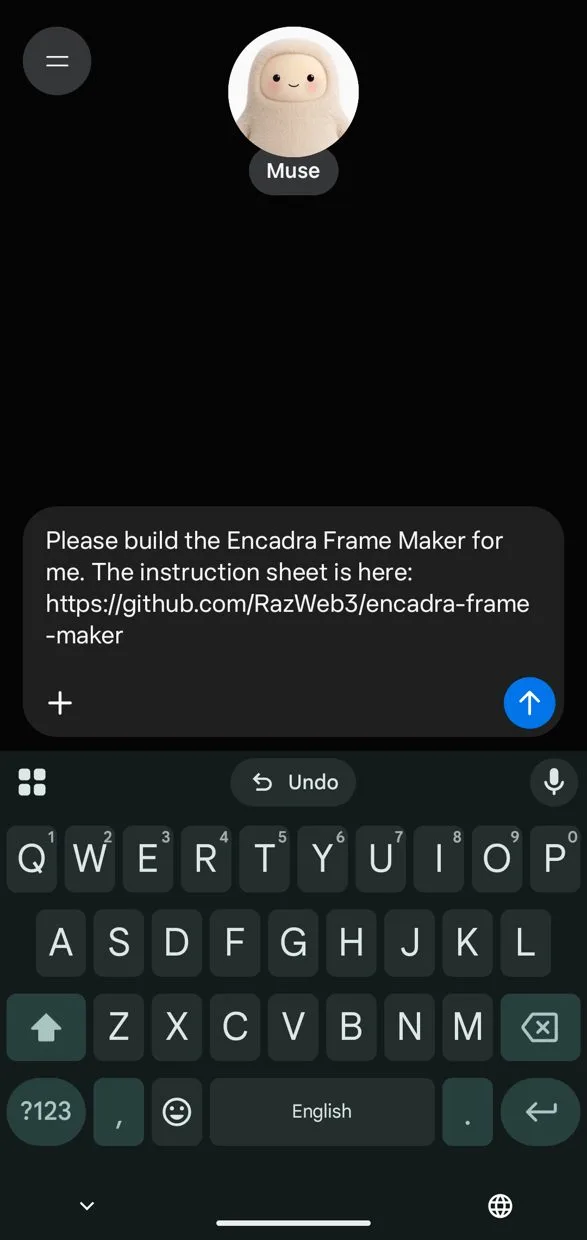
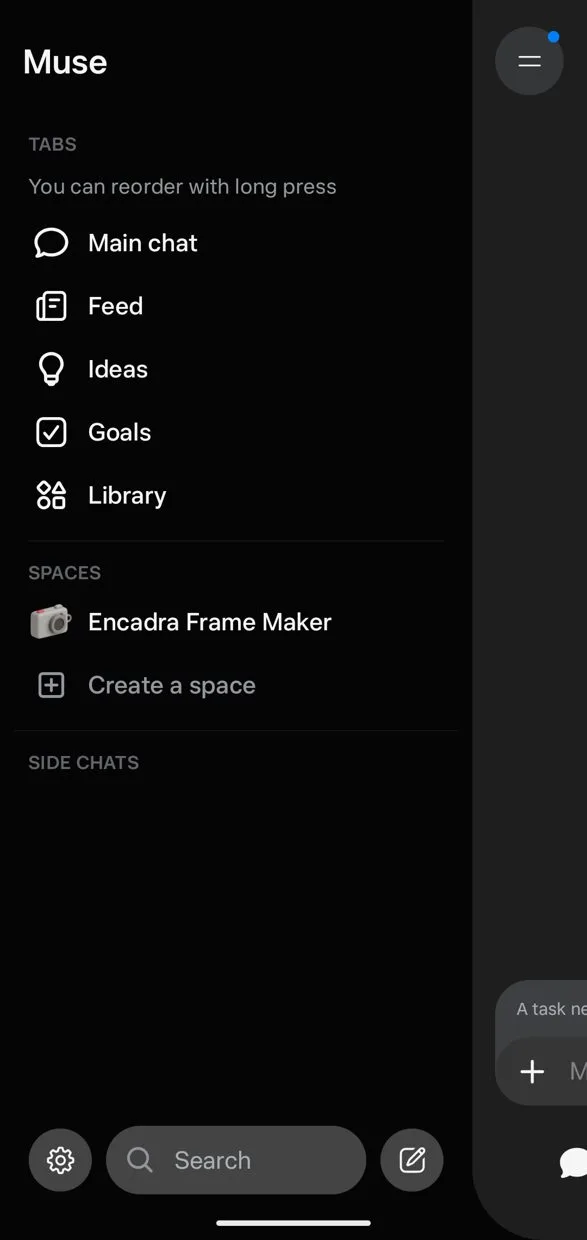
When the build finishes, an "Encadra Frame Maker" icon appears in the Muse menu, under Spaces. From then on, open the tool from that icon. The first build takes about 20 minutes, and uses roughly 2–5% of the free plan's weekly usage allowance.
You can close the app (or put your phone down) while it builds — the build keeps going, and the Frame Maker appears under Spaces when it is done. The Frame Maker's screens are generated in your language: the instruction sheet is designed that way, so it does not matter whether the request text you paste is in Japanese or English — the screens come out in the language your Muse uses with you.
In the Frame Maker, pick the same ratio you will shoot with in Encadra (1:1, 4:5, 3:2, 16:9, or 9:16).
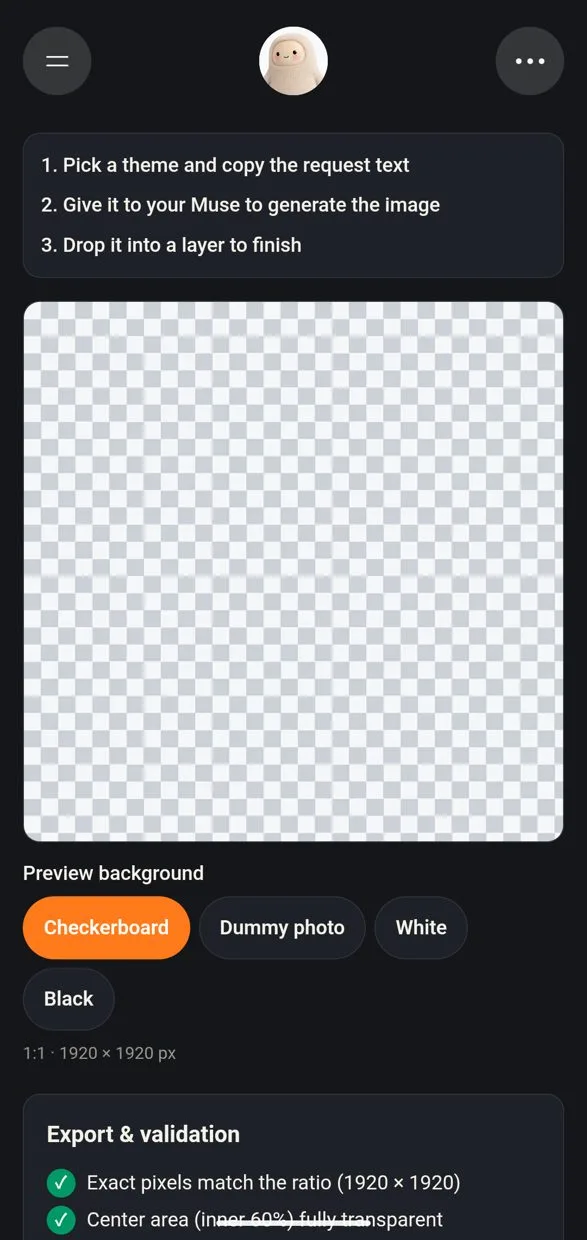
The ratio buttons are further down this screen.
In Encadra the frame is fixed to fill the whole screen. You cannot move it or resize it later, so matching the ratio first matters. The examples on this page use 3:2.
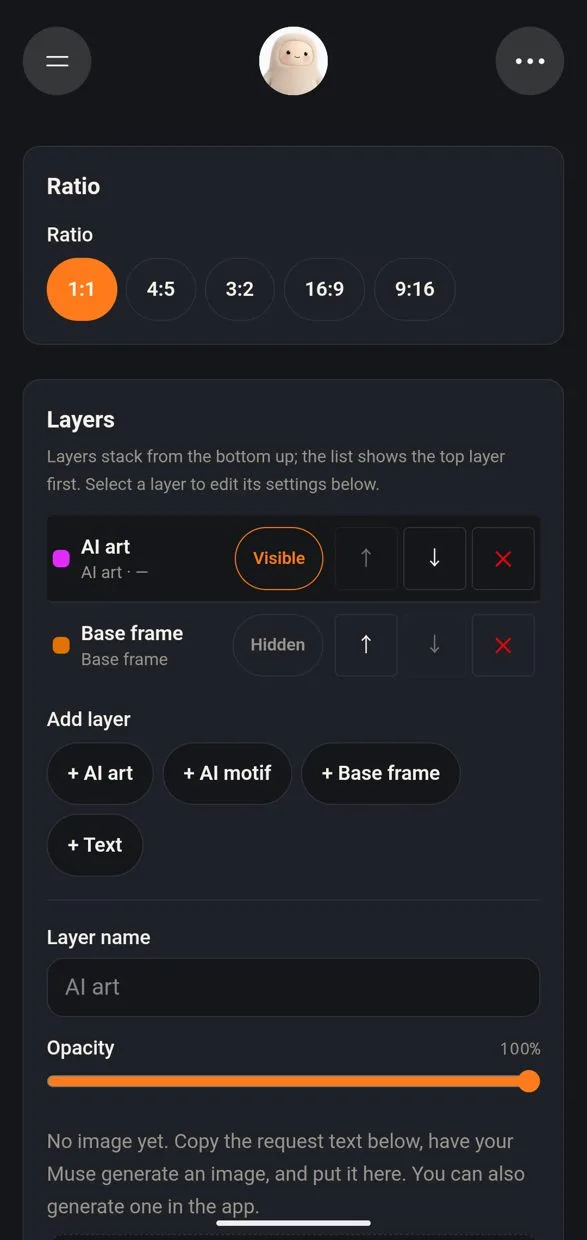
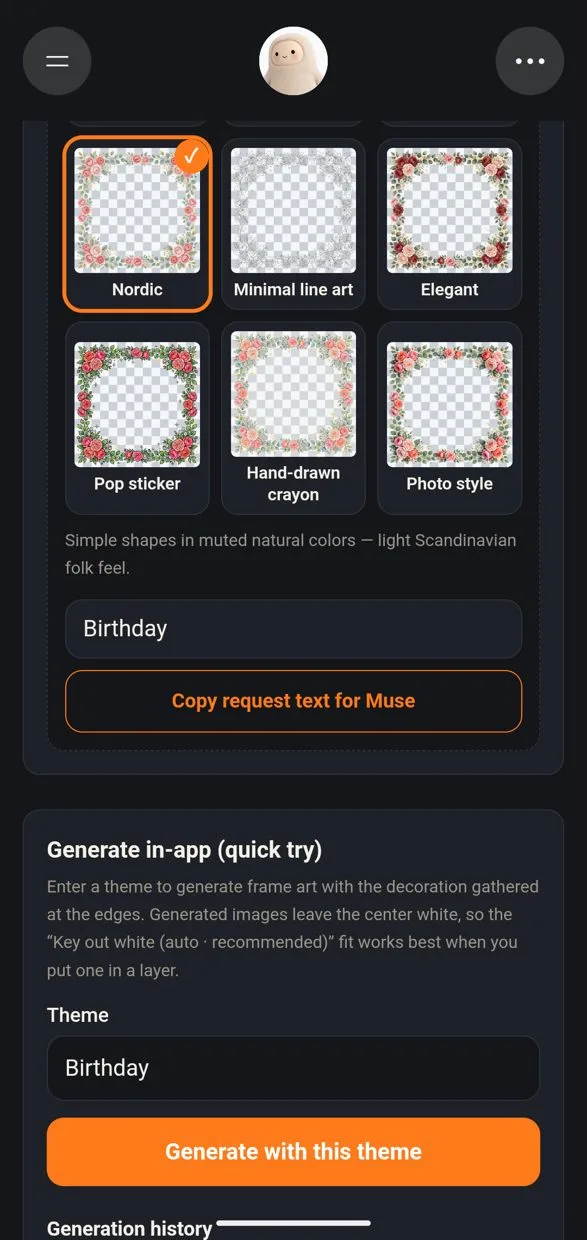
Get your image in one of two ways.
Art guidelines: place decorations only around the edges of the image and leave the centre open — the photo shows in the centre. The centre does not have to be completely empty: you can still download when a warning appears, and images such as face-in-hole panels are fine too.
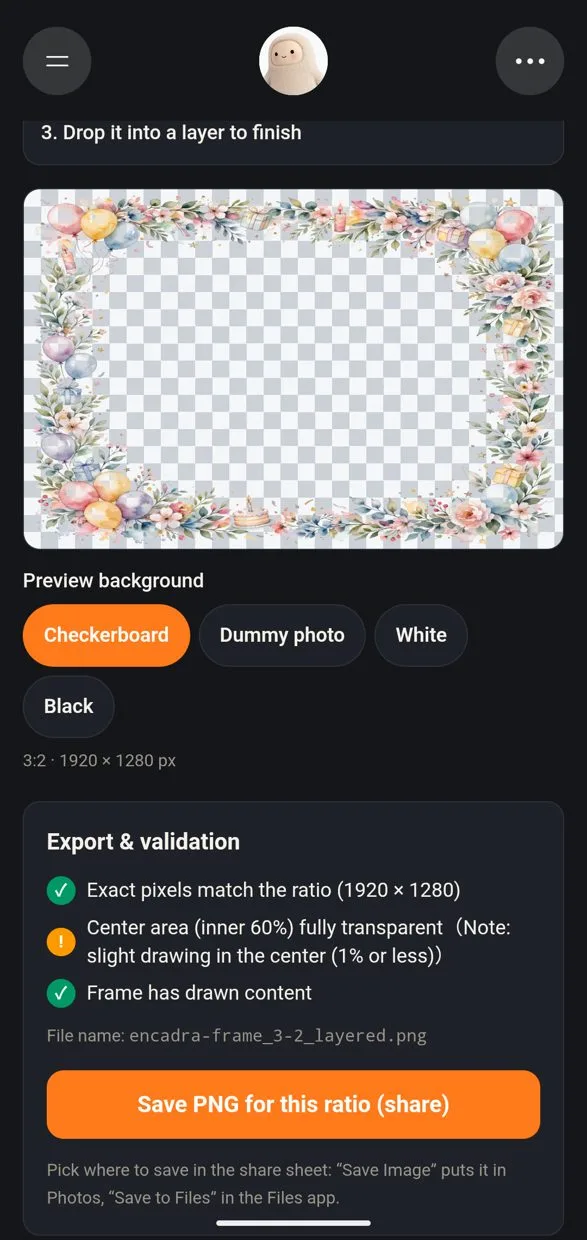
If a ⚠ is shown, read what it says before you continue (for example, slight drawing in the centre, 1% or less). You can save even when a ⚠ is shown.
Tap "Save PNG for this ratio (share)" to create the file (for example, encadra-frame_3-2_layered.png).
Note: on a phone, tapping the button does not finish saving. The "Share to" screen that opens is a sharing screen — the file is not on your device yet. Always go all the way to the final Save.
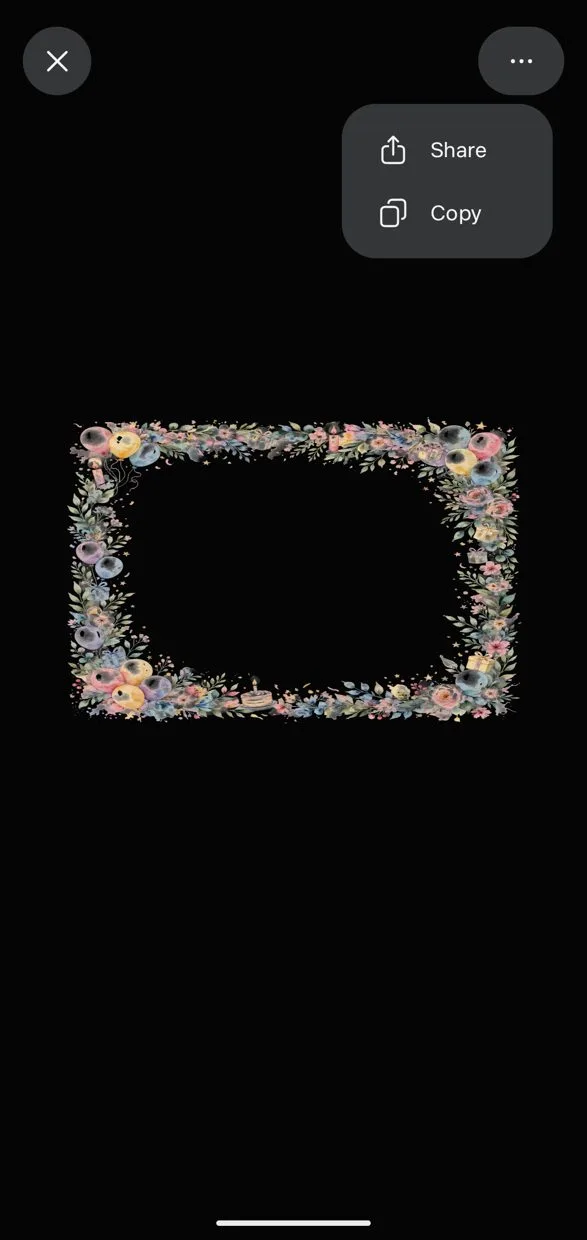
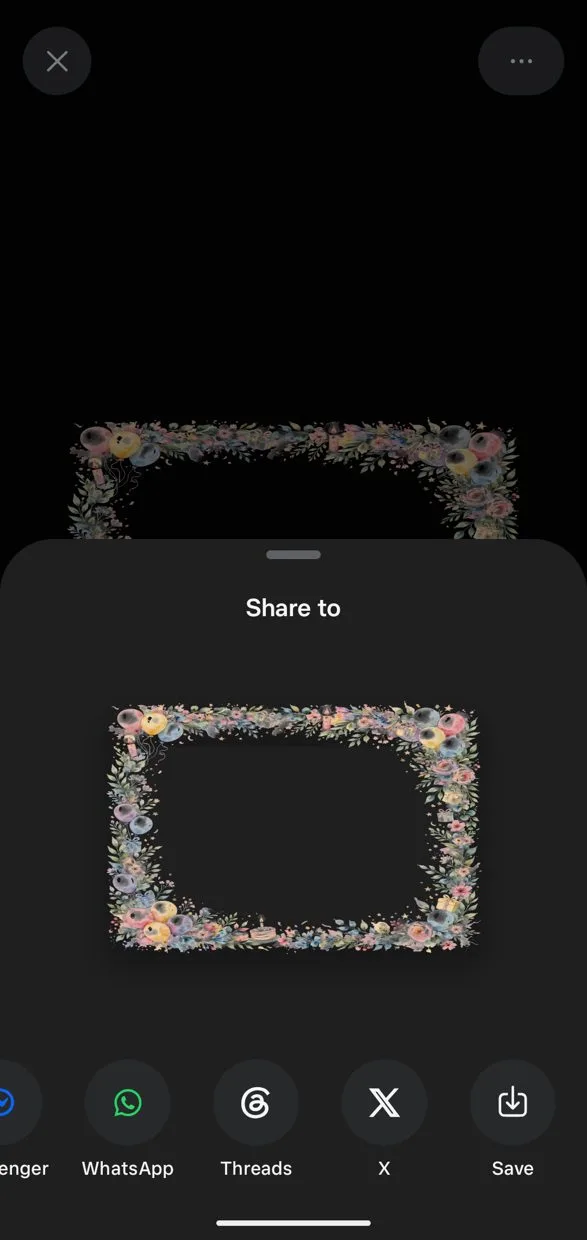
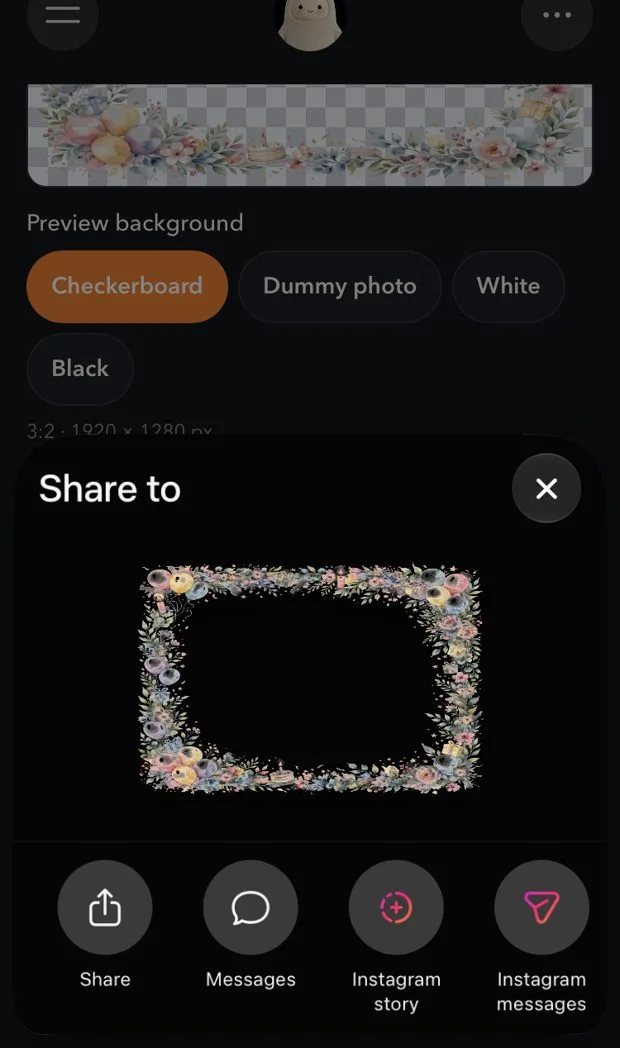
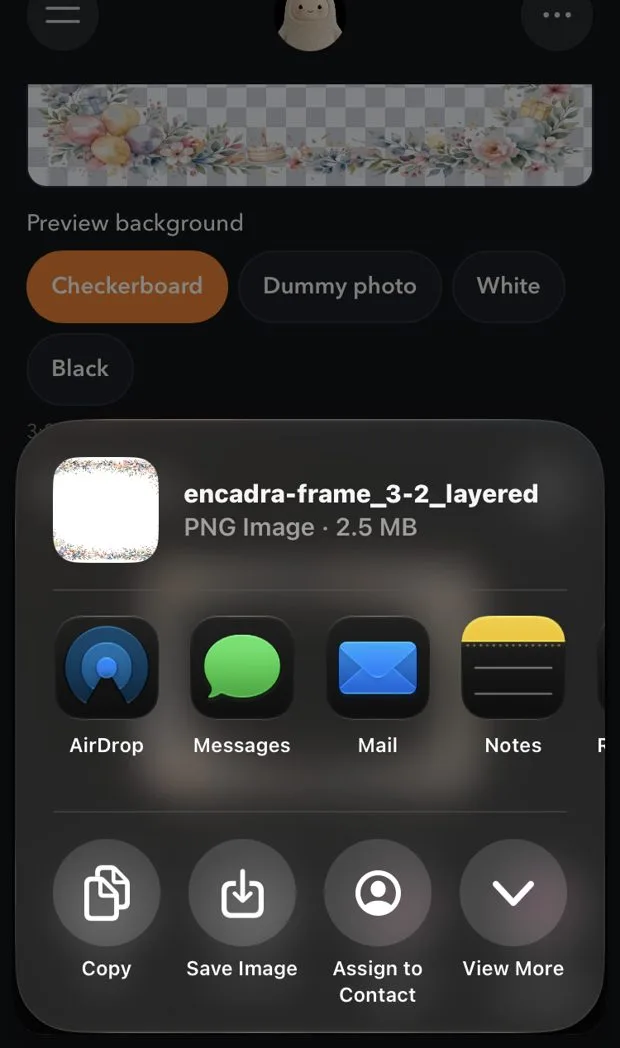
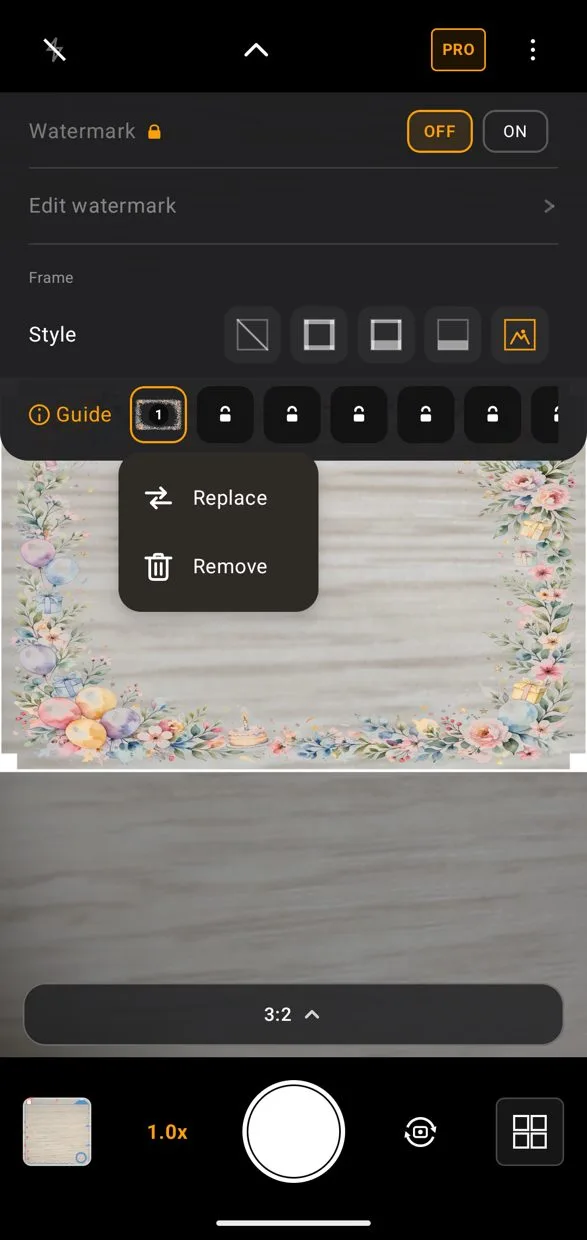
That is it. Shoot as usual and the frame is baked into your photos. You get 1 slot for free, and up to 20 slots with Pro.
The imported image is copied into the Encadra app, so the frame stays even if you delete the original PNG from your device. Tap a filled slot to open its menu, where you can Replace the image or Remove it.
The ratios you can pick in the Frame Maker, and their export sizes. Match the ratio you shoot with in Encadra.
| Ratio | Size | Good for |
|---|---|---|
| 1:1 | 1440 × 1440 px | Social icons and posts |
| 4:5 | 1536 × 1920 px | Portrait social posts |
| 3:2 | 1920 × 1280 px | Everyday photos (the examples on this page) |
| 16:9 | 1920 × 1080 px | Video and wide scenes |
| 9:16 | 1080 × 1920 px | Vertical video and stories |
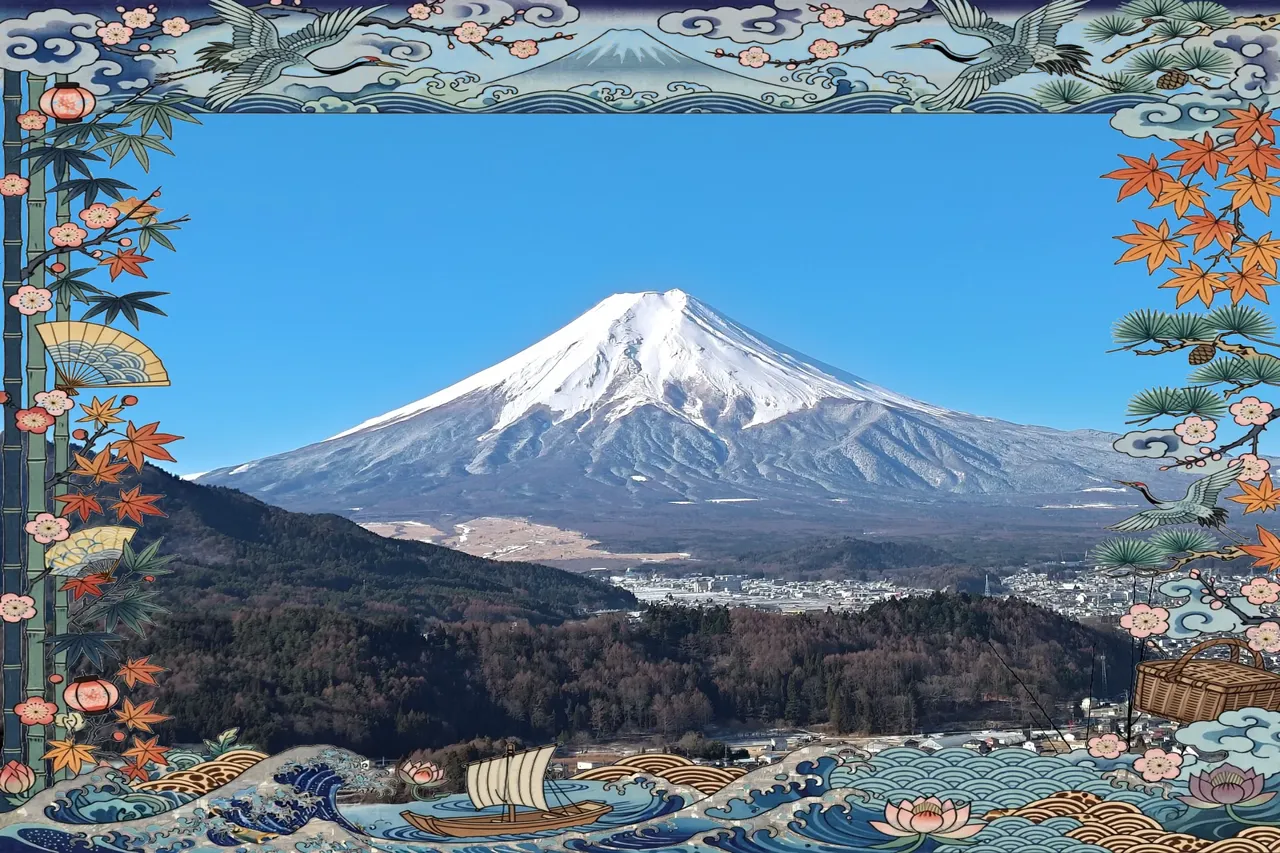
You may not have reached the final Save in Step 5. Opening "Share to" is not saving yet.
Check that the ratio in Step 2 matches the ratio you shoot with. The frame fills the screen and cannot be adjusted later.
Yes. The centre does not have to be fully transparent. If it bothers you, the "Key out white" fit on a layer turns a white background transparent.
Yes. The PNG is made for its ratio, but using it at another ratio simply stretches or shrinks it.